Consistent measurements depend on more than a calibration certificate. The condition of the instrument, the measuring environment, the workpiece and the measurement method all matter. This guide explains practical ways to maintain precision measuring instrument accuracy, with extra attention to optical and video measuring systems.
Always use the operating and maintenance instructions for your exact model, and follow your organization’s quality procedure. The steps below are a planning checklist, not a substitute for the manufacturer’s service or calibration instructions.
Understand cleaning, verification and calibration
Routine care keeps the instrument and its surroundings in a suitable condition. Verification checks performance against a known reference or acceptance criterion. Calibration establishes the relationship between indicated values and reference values under defined conditions. A successful daily check does not replace scheduled calibration, and cleaning does not correct a calibration error.
Define who is permitted to adjust the system. If a check fails, do not change offsets or mechanical alignment merely to make a result pass; investigate the cause and use the approved service process.
Keep the measurement environment stable
- Operate within the temperature, humidity, power and loading limits specified for the instrument.
- Allow the machine, reference artefact and workpiece to reach a stable condition before critical measurements, especially after a move or a temperature change.
- Keep vibration, direct sunlight, drafts, dust and coolant away from the measurement area where practical.
- Use clean, secure fixtures that support the part without distortion; check that the part is seated consistently.
These controls help make repeated measurements comparable. Record the conditions when your process requires them so that an unexpected change can be investigated later.
Clean the stage and optics safely
Remove loose debris from the worktable and fixtures using the manufacturer’s approved method. Inspect accessible surfaces for residue that could affect part seating or imaging. For optical equipment, follow the specified procedure for lenses, glass and illumination components; avoid touching or wiping optical surfaces with unapproved materials. Do not spray solvent into the instrument or disassemble moving assemblies as part of routine cleaning.
Before restarting measurement, confirm that covers, fixtures and reference items are correctly positioned and that the stage moves normally. Escalate damage, unusual noise or contamination that cannot be removed safely.
Run a pre-use accuracy check
A short, repeatable check can reveal a problem before production results are accepted. Adapt this sequence to your equipment and quality plan:
- Confirm the setup: select the approved measurement program, units, magnification or probe configuration, and correct fixture.
- Inspect the reference: use a clean, suitable reference artefact with an identification and valid status under your procedure.
- Check image quality: on a vision system, confirm focus, illumination and edge detection are suitable for the feature being measured.
- Measure and compare: measure the reference as instructed, compare the result with the documented acceptance limits, and repeat if your procedure calls for it.
- Record the outcome: note the date, operator, instrument, reference, result and any corrective action required.
Use a reference and test points that are relevant to the dimensions and working area you actually use. A single passing point may not reveal every issue across a large measuring range.
Set calibration intervals from evidence, not a universal rule
Schedule formal calibration or verification according to the instrument’s stability, frequency of use, environmental exposure, accuracy needs, service history and applicable customer or regulatory requirements. Review the interval when records show drift, after a repair or relocation, or when the measurement task changes. NIST notes that it does not recommend one fixed recalibration interval for all measuring instruments; your documented quality system should determine the appropriate plan.
Keep calibration reports, reference records, maintenance logs and verification trends together. Where available, compare the instrument’s condition before and after service so that interval decisions are based on evidence rather than a date alone.
What to do when a check fails
- Stop using the instrument for affected measurements and identify potentially impacted results under your quality procedure.
- Recheck the setup, reference condition, cleanliness, environmental conditions and program selection without masking the original failure.
- Document the failed result and the steps taken. Arrange qualified inspection, service or calibration if the issue remains.
- Before returning to production, complete the required acceptance checks and review whether earlier measurements need reassessment.
Choosing support for a video measuring machine
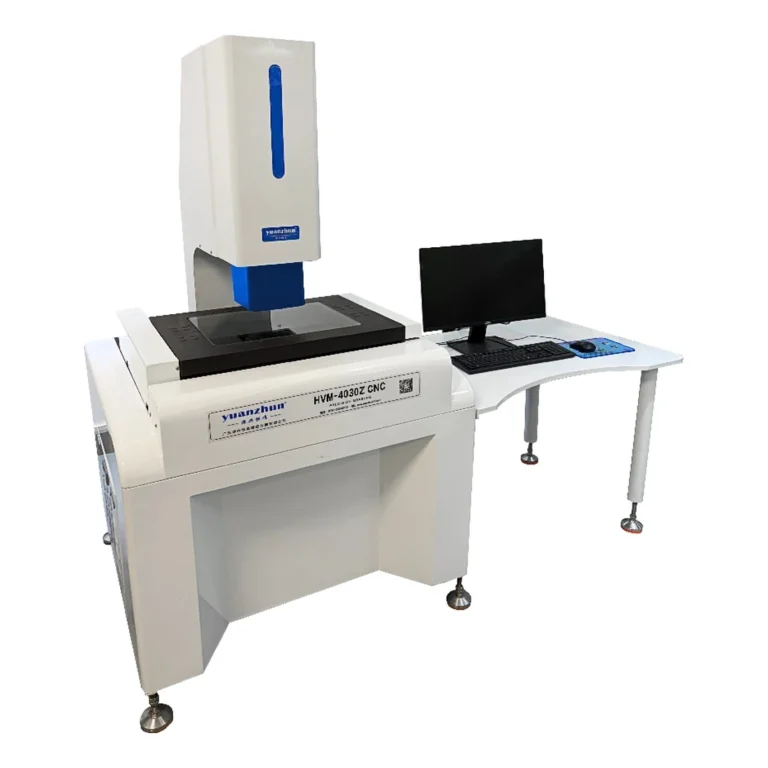
For a video measuring system, ask for maintenance instructions specific to the model and configuration, including the stage, optics, illumination, software and approved reference checks. If you are evaluating measurement methods as well, see our vision measuring versus CMM comparison. Explore the Classic HVM CNC video measuring machine or contact Ideal Precision to discuss the instrument and the measurements you need to control.
More equipment-care checklists
Use our vision machine installation environment checklist to prepare a stable inspection space. For optical instrument care, see the measuring microscope maintenance checklist. If the camera image is missing, start with the safe first checks for a blank image.