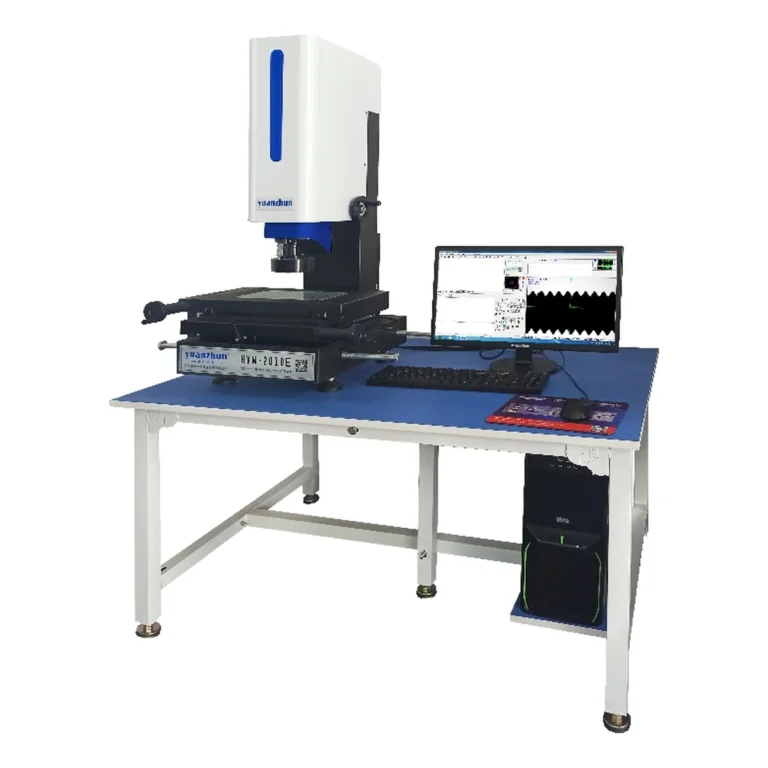
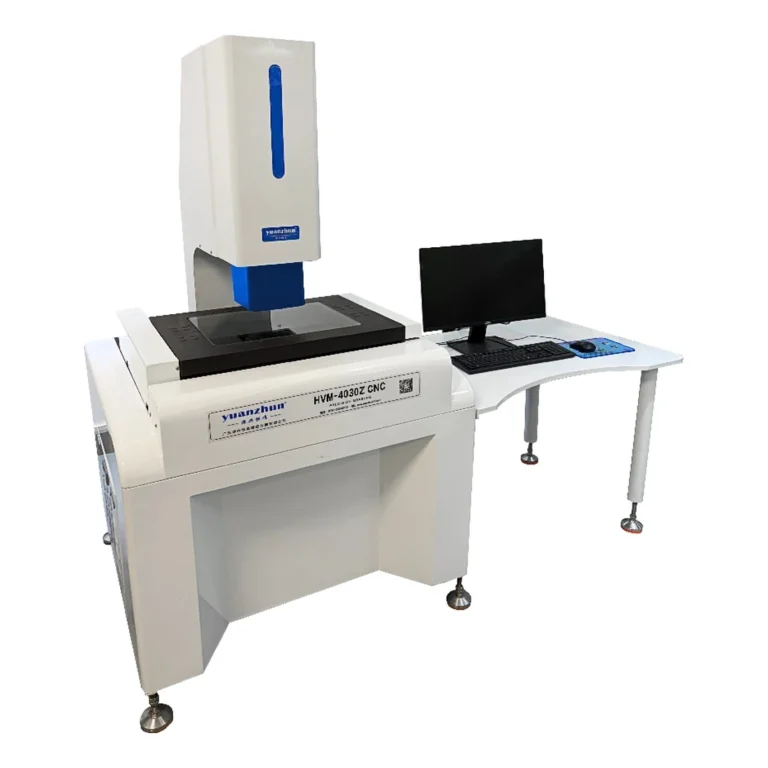
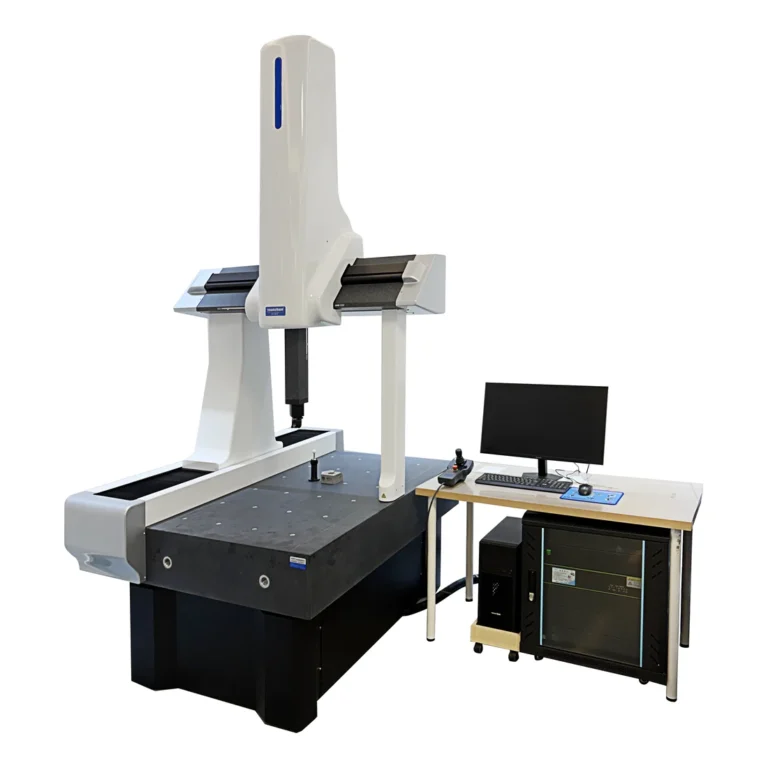
Measurement performance depends on more than the machine. A stable installation helps an optical system detect the same feature in the same way throughout a shift. Before delivery, check the proposed room and the part-handling workflow against the specific model’s installation documentation; there is no single universal temperature or vibration limit that applies to every machine.
Temperature and part acclimation
Track room temperature over a normal production day, not only at a convenient moment. Avoid directing heating or cooling airflow at the stage or workpiece. A part brought in from a hot machining area or cold store may change dimension while it equilibrates. Define when a part is ready for inspection and record relevant conditions if the tolerance is tight. Use the manufacturer’s specified operating range and the measurement procedure’s reference conditions.
Vibration, support and access
Place the instrument on a suitable, level support away from stamping equipment, heavy traffic or other recurring vibration where practicable. Check floor loading, power and access for service, part loading and safe stage travel. If the instrument is installed near a vibration source, evaluate it during real operating conditions rather than assuming the floor is quiet after hours.
Lighting and cleanliness
Stray daylight and changing overhead light can affect low-contrast edges; keep the imaging setup consistent and use the machine’s intended illumination. Manage dust, oil mist and loose chips near optical surfaces and moving parts. Clean only with materials and methods permitted by the equipment documentation. Do not adjust or disassemble optical components to compensate for a dirty environment.
Commissioning checklist
- Document the room conditions and identify likely temperature and vibration changes.
- Confirm space, electrical supply, fixture access and any required computer or network connection.
- Let the instrument and representative parts stabilize according to the supplier’s instructions.
- Run the specified installation and calibration or verification process with suitable artifacts.
- Save a baseline inspection routine and repeat it at a defined interval to detect drift.
For ongoing checks, read how to maintain measuring instrument accuracy. The automatic video measuring machine range and application team can help you confirm installation requirements for a specific configuration.